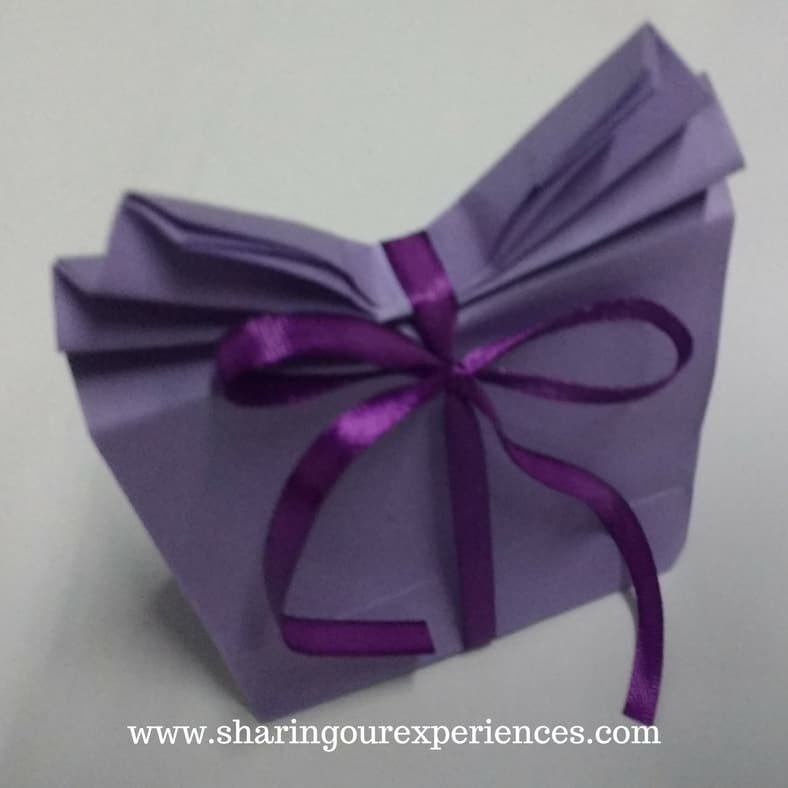
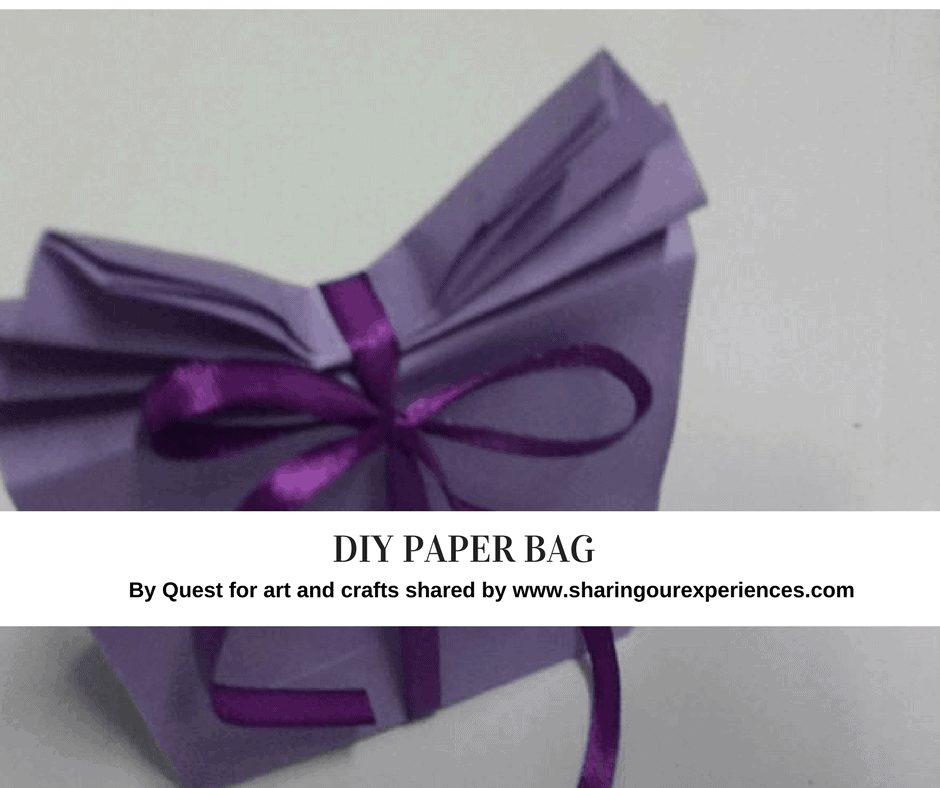
Hello friends, today we are going to learn how to make a paper gift bag at home.
This is a very simple handmade paper bag. I have used chart paper for making this DIY Gift Bag but you can use old newspapers, magazines, craft papers or wrapping papers.
These paper gift bags are an excellent alternative to plastic bags or wrapping papers. Not only will they save you money but are also reusable and environment friendly.
In this article
Before I go ahead with the tutorial, would like to share what got me into making this gift bag at home 🙂 ..
Last week I had to go to a birthday party. I bought the gift but forgot to get it wrap.When I reached home I found I don’t even have a gift paper to wrap it. Moreover, the gift was an odd shape so was not easy to wrap as well.
While thinking of gift wrapping ideas and looking for something I could use to wrap my gift, I found a chart paper and a ribbon in my cupboard.
Well this have me an idea of making a paper bag at home. So I started making it and to be true, I was surprised to see the outcome. The homemade paper gift bag was looking quite different and attractive. And was also very quick and easy to make.
So I happily went to the party with my gift wrapped in a beautiful handmade paper bag.
So from now, if you are ever in the same situation. Just make this beautiful bag at home and make your gift much more personal and interesting.
Now let us get back to the DIY handmade paper bag tutorial.
Here are step by step instructions (with pictures) on how you can make Paper gift Bag at home with paper and ribbons.
Materials needed to make Paper Bag
- Chart Paper (the size of the paper depends upon the size of gift)
- Satin Ribbon
- Scissors
- Glue Stick
How to make a Paper gift bag at home step by step
Step 1 – Determine Size
Look at your gift and determine the size of paper you will need. If needed you can place your gift on the paper and wrap it around. This will give you an approximate idea of the size of paper you are going to need. Always take extra paper as you will need to fold paper to form sides and base as well.
Step 2 – Cut the chart paper
Based on the size estimated above, cut your paper to form a rectangle. You can save your time by using the naturally straight edges of the chart paper. I usually cut from the corners instead of the middle and use a ruler for marking straight lines before I cut anything.

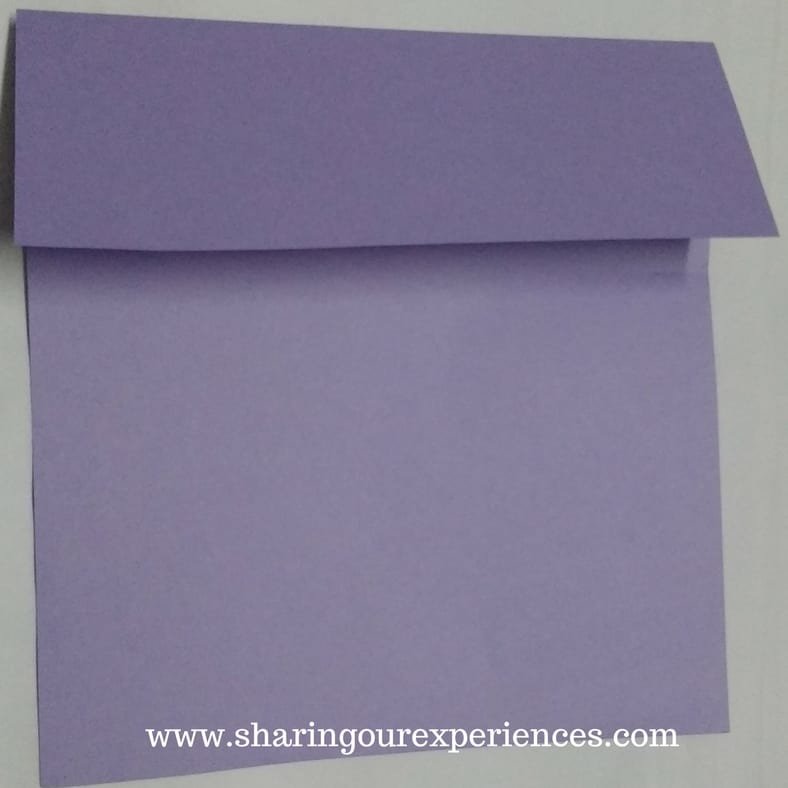
Step 3 – Fold Top edge of the chart paper
Now we need the fold the top edge (1/4th paper) as shown below.
Note- You can use a ruler to mark the center point, 1/4 point of the paper and 3/4 point of the paper. Or you can choose to fold your paper to find its center, 1/4 and 3/4 points.
Step 4 – Fold Bottom edge of the chart paper . Apply glue on one side and paste it
Now we need the fold the Bottom edge (1/4th paper) as shown below.
Note- You can use a ruler to mark the center point, 1/4 point of the paper and 3/4 point of the paper. Or you can choose to fold your paper to find its center, 1/4 and 3/4 points.
Apply glue on Bottom edge of the paper and paste the two sides with glue. Allow it to dry for some time.
Now this is your half finished Paper bag and you can see what the width of your gift bag is going to be. Next we will be working on the length of the bag and creating a base
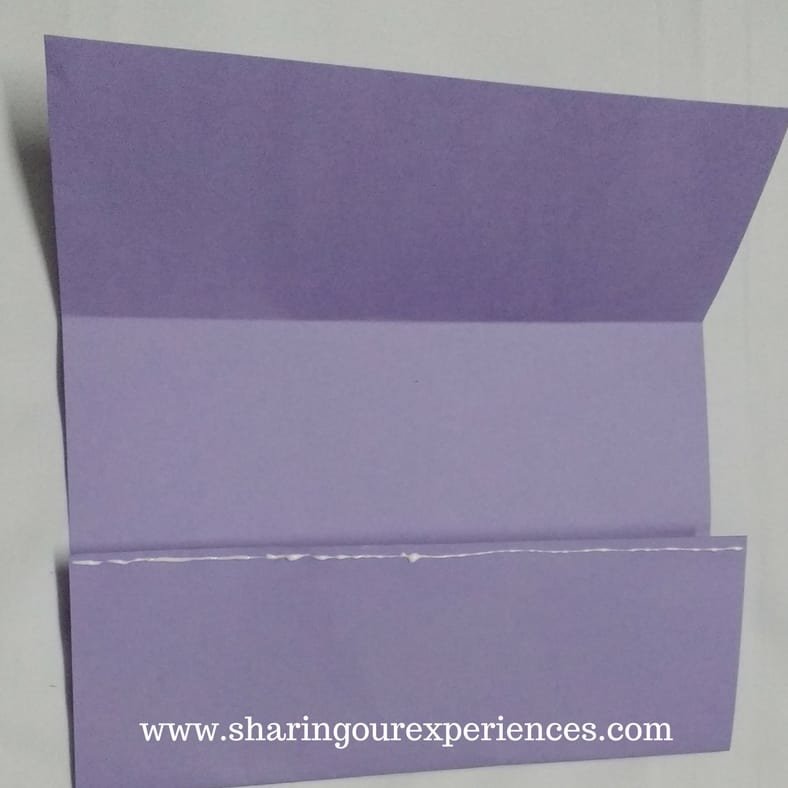
Step 5 – Create a base of the paper bag by following below steps
Fold Bottom edge as shown below to make the bottom or base of the bag. This is going to determine the height of your bag and thus the space inside
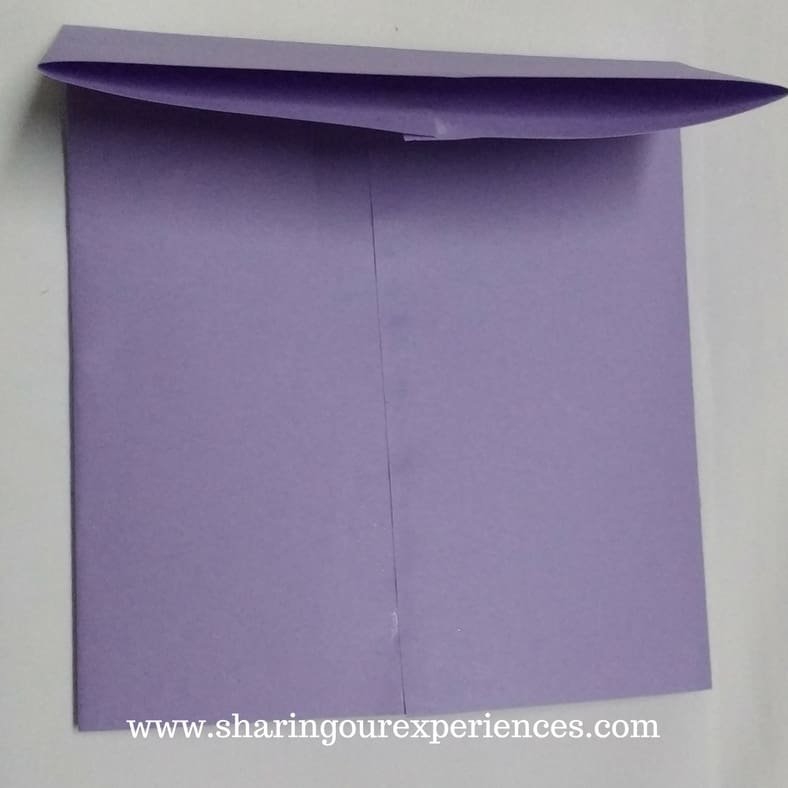
Unfold the last fold made. Fold inwards along the side crease to form triangular shaped creases as shown below.

Apply glue on triangular shaped creases/flaps as shown below.

Fold the triangular shaped flaps inwards, repeat for another flap. Press so that the base created is firm. Let it dry for some time.
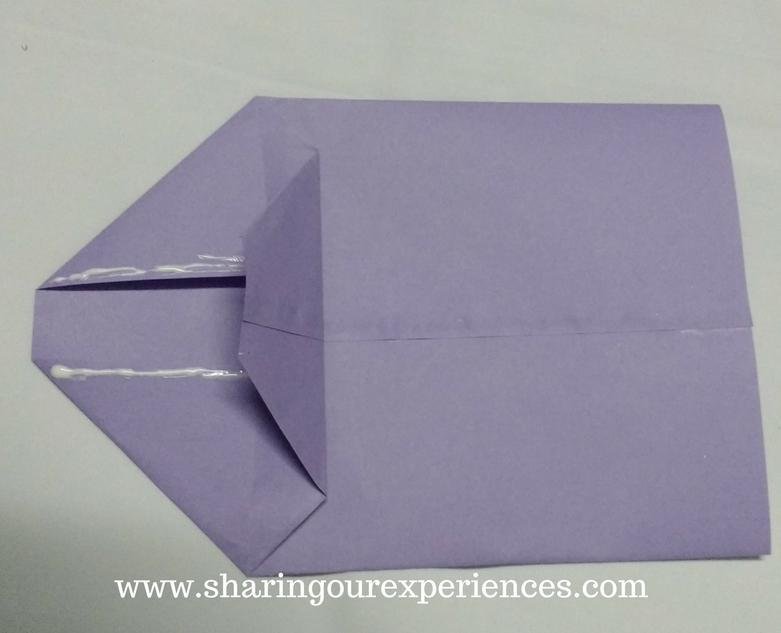
Bottom or Base of the paper bag is ready.

Step 6 – Create Gussets or pleated margins by following below steps
Fold both the sides of the bag as shown below
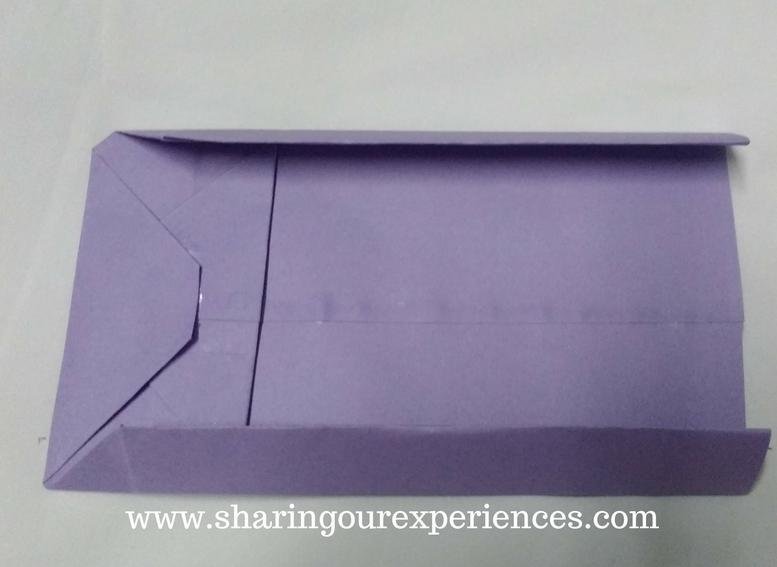
Open the bag it will look like as shown in the pic below.

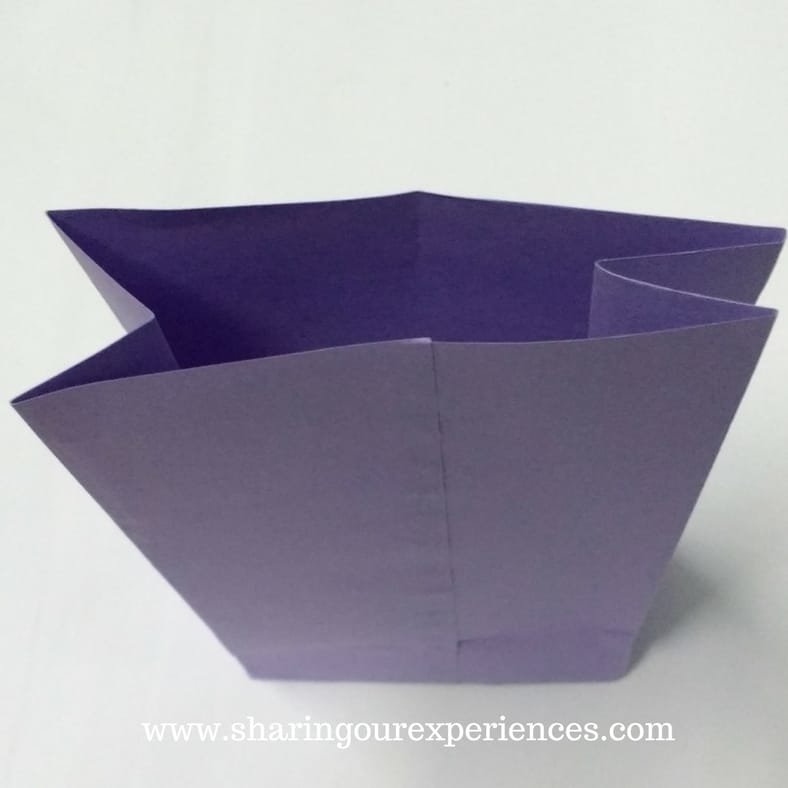
Pinch the margins created above and crease down the middle of the side. This will create pleats on both sides of the bags.

After the above steps, your bag will look like below. Your bag has pleated margins now and is almost ready
Step 7 – Decorate your bag and add finishing touches. You can also add handles
Now this is the final step and it actually depends on what you want to do.
You can use a punching machine to make holes on the side of bags. For handle you can use a rope or use satin ribbons, may be add beads. It all depends on the look you want and at times what you have available.
If you want to add some colours, you can paint your gift bag with water colour or poster colours. You can also use wrapping papers or another chart paper to add some colours to your DIY paper bag.
What I decided to do is to decorate by using satin ribbon and folding my paper bag in accordion style.
Make two or three folds at the open side of the bag. Fold your paper in accordion style.
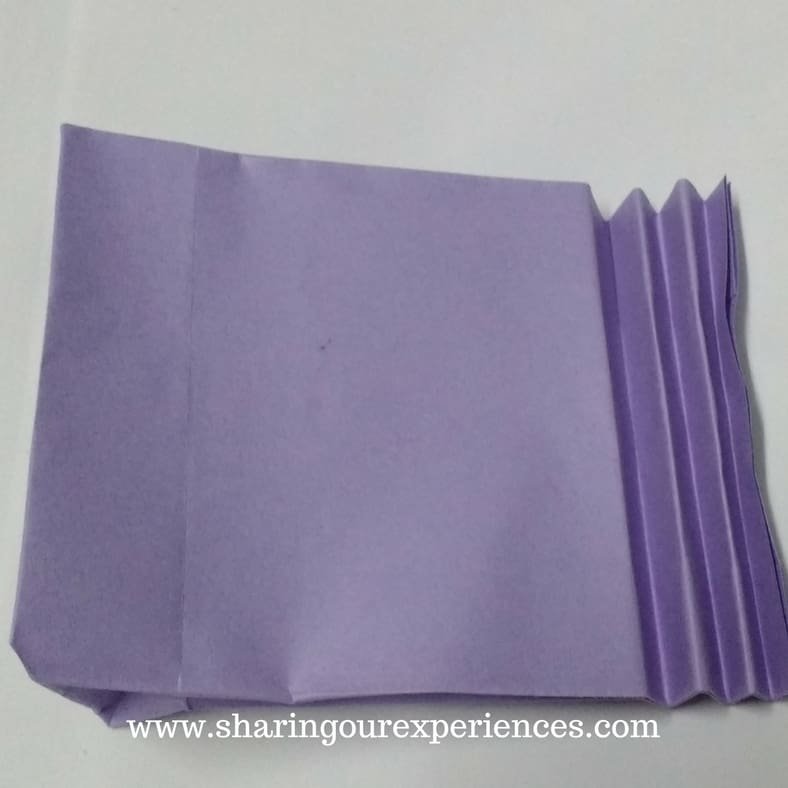
Tie a beautiful satin ribbon around your bag.
Your DIY paper gift bag is ready. Now keep your precious gift in it to make it more precious.

So friends, don’t you find this a wonderful gift wrapping idea?  Immediately grab a paper, glue and scissors and start making a DIY paper bag at home.
It is one of those quick and easy paper crafts which is not only going to save you money but also get you appreciation.

Liked this post?
You may also want to try making these beautiful Frangipani flowers.
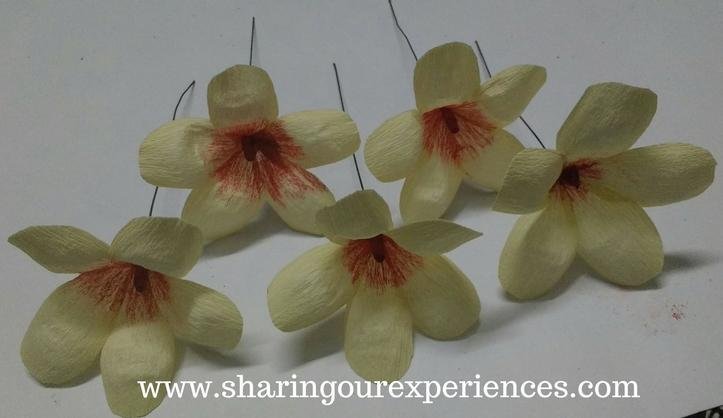
These pictures were first published on author’s blog
Your Turn Now
In case if you liked this article do show your support by sharing this article.
Like our Facebook Page
Stay connected with us using your favorite social media, we can be found on
Add a comment
Don’t you find this paper bag craft idea interesting and beautiful ? Do share if you have made a paper gift bag using comments below. Would love to hear from you.


