A Step by Step tutorial on how to make paper quilled greeting card. An excellent hand made gift for your dear ones..
There are times when I wonder what to gift my dear ones on their birthday, anniversary or any such occasion. There is no dearth of gifts and cards that I can find in the market but they lack personal touch. While searching for such gift ideas luckily I came across something called paper quilling.
Paper Quilling is nothing but an art of rolling paper strips to create designs. This technique can be used to create greeting cards, wall hangings, earrings and a lot more.
This reminded me of my school days (good old days) when I used to make greeting cards. I was in an hostel so buying a card from the shelf was not always feasible and to be honest there was more fun in getting creative and making cards from materials available. I loved presenting those cards and gifts to my mom and brother and seeing the love and appreciation in their eyes.
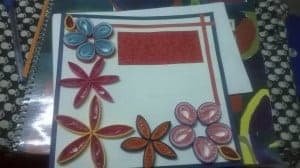
Anyways, after years I have tried my hands at making greeting cards again. And this is how they look.


Here is a step by step tutorial on how to make paper quilled greeting card
Material Used
- Quilling tool to roll paper
- A comb to roll paper
- Colored paper strips
- Any adhesive (glue stick or fevicol)
- Scissor
- Vibrant colored papers (you can also reuse old marriage card
- Old Birthday cards (to cut out wishes)
Step 1 – Make paper quilled flowers and leaves
Make variety of paper quilled flowers and leaves using the colored strips of papers, quilling tool and comb. The below videos by Noor Azlina Abdul Samad K and other links are excellent for learning how to do that.
How to make paper quilled flowers
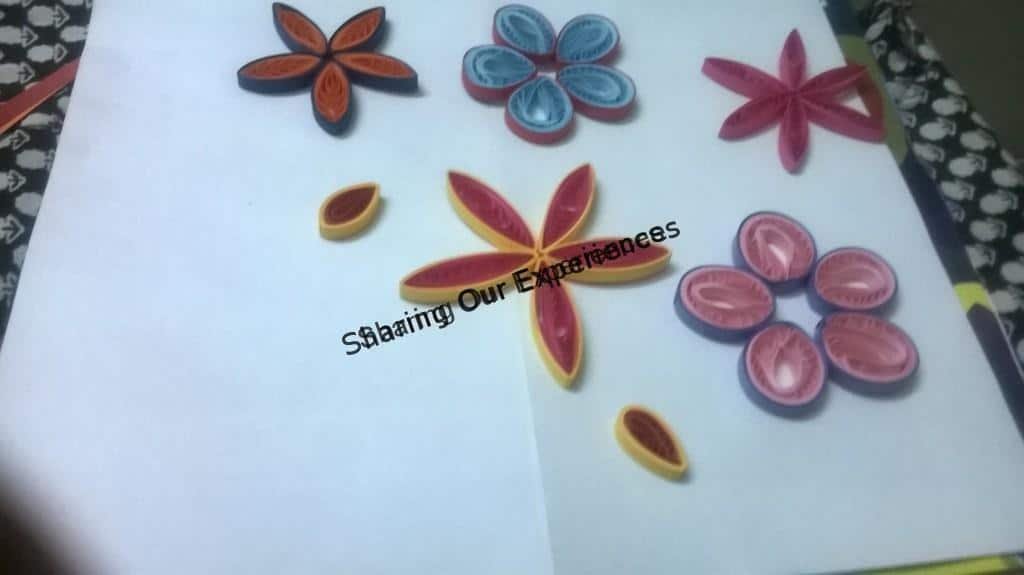
Here are the different types of paper quilled flowers made using techniques above

Step 2 – Arrange flowers and leaves on the greeting card and paste them
Once you have the flowers and leaves ready, its time to arrange and stick them on your card
Â
Step 3 – Create boundary or add birthday wishes from other cards
Once you have the basic card ready you can embellish it by adding boundaries, or pasting wishes cut out from old cards.
In my first card I have used cut outs from old card and in the second one I have added orange colored boundary.


Making these cards was not a difficult task but it took some time. But every time I look at them I feel so glad that I made the effort .. 🙂
Don’t you find this craft idea interesting and beautiful ? Try it and let me know using comments below. Would love to hear from you.


